
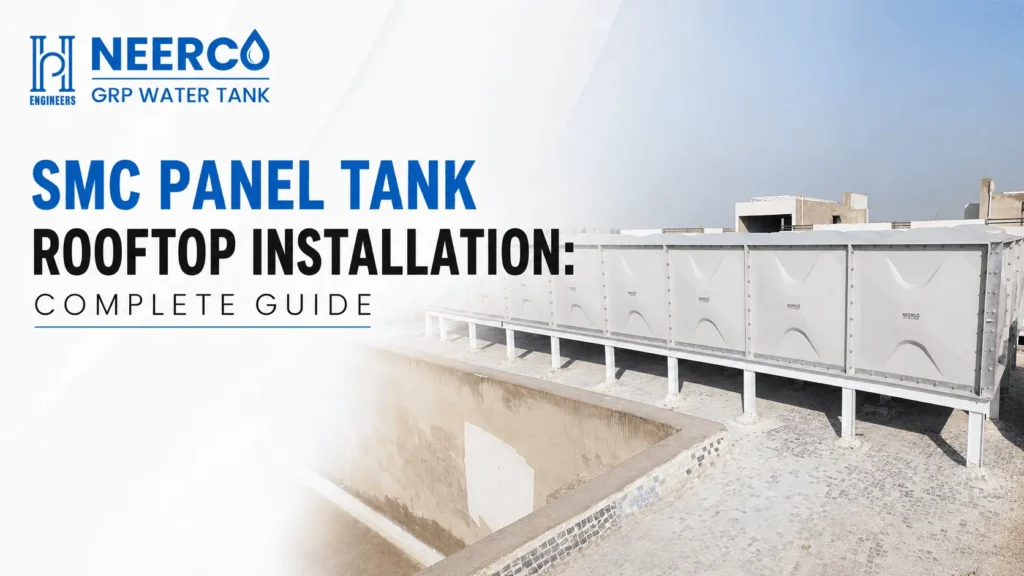
Installing a water storage tank on the terrace is one of the smartest ways to save ground space and maintain gravity-fed water pressure across a building. Among the options available today, the SMC panel tank has become the preferred choice for rooftops because it is lightweight, modular, leak-resistant and easy to carry up in pieces. This guide walks you through the complete SMC panel tank rooftop installation process, along with the pre-installation requirements, cost factors, safety measures and common mistakes to avoid – written specifically for Indian homes, apartments and commercial buildings.
SMC Panel Tank Rooftop Installation – Overview
An SMC (Sheet Moulding Compound) panel tank is a sectional water tank built from standard moulded FRP panels – usually 1m x 1m or 1m x 0.5m – that are bolted together on site with food-grade sealant gaskets. Because the tank is assembled panel by panel, it can be built in almost any capacity and shape to fit the exact footprint available on your terrace, without needing a crane to lift a single large body.
For rooftop use this modular design is a big advantage. Panels are carried up the staircase or lift, and the tank is assembled in place. This makes SMC panel tanks ideal for existing buildings where a one-piece tank simply cannot be hauled to the roof.
Advantages Over RCC, Plastic and Steel Tanks
• Lightweight: far lighter than RCC tanks and steel tanks, reducing dead load on the terrace slab.
• Modular & flexible: any capacity from a few thousand litres to lakhs of litres, in rectangular layouts that fit the roof.
• Hygienic: food-grade FRP keeps water clean, resists algae, and does not rust like steel or crack like old RCC tanks.
• Leak-proof & insulated: gasketed joints prevent seepage, and FRP keeps water cooler than metal or plastic in summer.
• Long life & low maintenance: corrosion-free panels last for decades with minimal upkeep.
Pre-Installation Requirements for Rooftop
A rooftop tank is only as safe as the surface it sits on and the space around it. Complete these checks before the first panel goes up.
1. Structural Load Capacity Check
Water is heavy – 1,000 litres weighs one tonne. A full 10,000-litre tank therefore adds about 10 tonnes of load on the slab. Always have a structural engineer verify that the terrace and supporting columns can safely carry the tank’s full weight, including the self-weight of the tank and any point loads at the support beams. Never skip this step on an older building.
2. Minimum Space Requirements
SMC tanks are bolted from the inside, so clearance around the tank is essential for assembly and future maintenance. As a general rule, keep:
• at least 600 mm clearance from surrounding walls, and
• at least 1000 mm clearance above the tank (from the top to any ceiling or obstruction) for roof panel and manhole access.
If the tank sits under a shed or overhead structure, confirm this headroom before finalising the height.
3. Foundation / Base Preparation on Terrace
SMC panel tanks must never rest directly on the slab. They need a level support base – typically evenly spaced RCC plinth beams, ISMC/ISMB steel channels, or a purpose-built steel stand – running under every panel joint. The base must be perfectly level, because even a small tilt causes uneven stress, gasket gaps and leaks. Provide clear space beneath the tank so the bottom panels stay ventilated and inspectable.
4. Access & Lifting Equipment Arrangement
Plan how the panels, bolts, tie-rods and accessories will reach the roof – staircase, service lift, or a pulley/mini-crane for larger jobs. Arrange scaffolding or a working platform for taller tanks, and make sure the installation crew has safe, unobstructed access on the day of assembly.
Step-by-Step SMC Panel Tank Rooftop Installation Process
With the base ready and material on the roof, assembly follows a fixed sequence. Skilled installers typically complete a mid-size tank in one to three days.
Step 1 – Material Verification & Site Inspection
Count and inspect every panel, bolt, nut, gasket, tie-rod and accessory against the packing list. Check panels for transit damage and confirm the base is level and clean before you begin.
Step 2 – Marking Tank Footprint & Base Frame Setup
Mark the exact tank footprint on the prepared base and align the support channels or plinths so they fall directly under the panel joints. Verify diagonals to keep the layout square.
Step 3 – Bottom Panel Assembly with Gaskets
Lay the bottom panels first, placing sealant gaskets along every mating edge. Bolt them together progressively, keeping the whole floor flat and true – this base sets the accuracy for every panel above.
Step 4 – Wall Panel Installation (90° / 45° Joints)
Raise the side wall panels row by row, sealing each joint with gaskets and hand-tightening bolts as you go. Corner panels are joined at 90° (or 45° for angled corners) to lock the walls square. Do not fully torque the bolts yet – leave them snug so the structure can settle evenly.
Step 5 – Internal Tie-Rods & Reinforcement
Fit the internal tie-rods (stay rods) that brace the walls against water pressure. These are critical for tall or large tanks – they stop the walls from bulging when the tank is full. Position and tighten them exactly as per the manufacturer’s drawing.
Step 6 – Roof Panel & Manhole Assembly
Bolt on the top/roof panels with their gaskets, leaving openings for the manhole and air vent. Install a lockable manhole cover for inspection and cleaning, and fit an insect-proof air vent to allow the tank to breathe.
Step 7 – Inlet, Outlet, Overflow & Drain Connections
Install and seal the nozzles: inlet, outlet, overflow and drain. Route the overflow and drain lines to a safe discharge point away from the roof surface so spillage never sits on the slab. Add a ladder and level indicator if specified.
Step 8 – Leak Testing & Final Torque Tightening
Torque all bolts to the specified value in the recommended sequence. Fill the tank with water and hold it for 24 hours, checking every joint and nozzle for seepage. Re-tighten and re-seal any weeping joint, then re-test until the tank is completely leak-free before handover.
Rooftop Installation Cost Factors
There is no single fixed price for a rooftop SMC tank – the final cost depends on several factors:
• Tank capacity: the biggest driver – more panels and hardware mean higher material cost.
• Labour & lifting: carrying panels to the roof, scaffolding, and skilled assembly charges vary by building height and access.
• Support base: the RCC plinth or steel structural stand is often a separate, significant cost.
• Accessories: internal/external ladder, air vent, water-level indicator, and extra nozzles add to the total.
• Panel type & thickness: insulated or higher-grade panels cost more than standard ones.
For an accurate figure, share your required capacity and terrace details for a site-specific quotation. Request a tailored quote here.
Safety & Maintenance Tips for Rooftop SMC Tanks
Waterproofing & Leakage Prevention
Waterproof the terrace area under and around the tank before installation, and keep the drain/overflow routed away from the slab. Inspect gasket joints and bolts periodically for the first few months and re-torque if needed.
Regular Cleaning & Inspection Schedule
Clean and disinfect the tank at least twice a year to keep the stored water safe. During cleaning, inspect the interior panels, tie-rods and joints for any sign of wear, and confirm the manhole cover and air vent are intact and sealed against dust and insects.
Monsoon & Summer Care Tips
Before the monsoon, check that the overflow discharges freely and that no rainwater is pooling around the base. In peak summer, the FRP body keeps water cooler than steel – but still position or shade the tank to reduce direct heat, and top up gasket sealing checks as part of routine maintenance.
Common Mistakes to Avoid During Rooftop Installation
• Improper base levelling: an uneven base is the number-one cause of leaks and panel stress.
• Gasket misalignment: a pinched or shifted gasket creates a slow leak that is hard to trace later.
• Skipping or under-tightening tie-rods: leads to wall bulging once the tank is full.
• Inadequate overflow / drain planning: overflow water sitting on the terrace damages waterproofing over time.
• Over-torquing bolts too early: stresses panels before the structure has settled evenly.
FAQ: SMC Panel Tank Rooftop Installation
1. Can an SMC panel tank be installed on any rooftop?
Almost any rooftop, provided a structural engineer confirms the slab and columns can carry the full weight of the water-filled tank and a proper level support base is built. Because SMC tanks are lightweight and modular, they suit both new construction and existing buildings where a one-piece tank cannot be lifted up.
2. How long does the installation take?
A small-to-mid-size rooftop tank is usually assembled and leak-tested within one to three days, depending on the capacity, roof access and crew size. Larger commercial tanks take longer. The 24-hour leak test is part of this timeline before handover.
3. What is the warranty and lifespan of an SMC panel tank?
SMC/FRP panel tanks are corrosion-free and typically last for decades with routine maintenance. Warranty terms vary by manufacturer, so confirm the exact coverage on panels and hardware at the time of purchase.
4. Does the tank need a separate support structure on the roof?
Yes. SMC panel tanks are never placed directly on the slab – they require a level RCC plinth or steel structural stand under the panel joints, which keeps the base flat, ventilated and easy to inspect.